
Most "zero to production" tutorials skip the hard parts — auth, multi-tenancy, keeping the codebase coherent across features, and setting up a deployment pipeline you can actually maintain. This one doesn't.
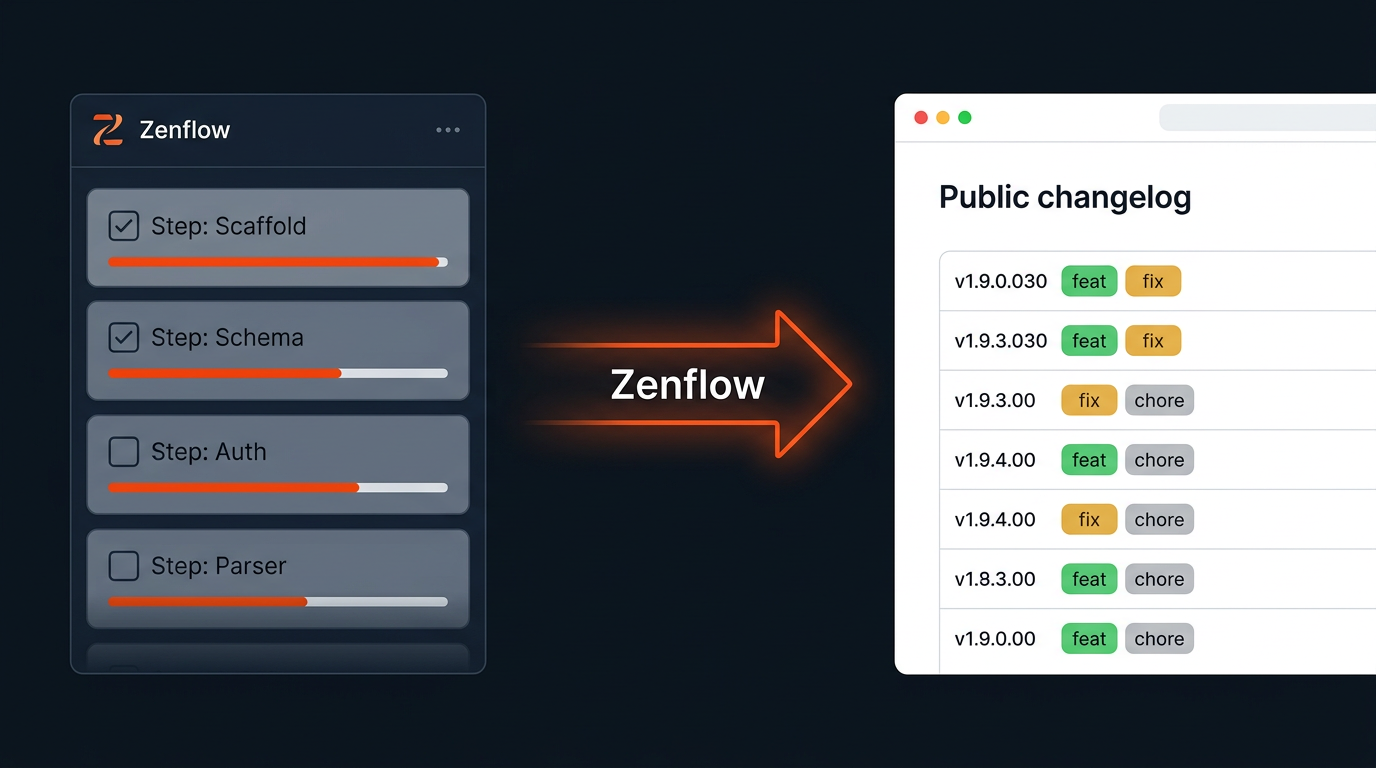
TL;DR: We're building ChangelogAI — a SaaS that connects to a GitHub repository and generates a public, shareable changelog from commit history. Stack: Next.js 14, Supabase, GitHub OAuth, Stripe, Vercel. We'll use Zenflow throughout, covering codebase context, multi-step task execution, model routing, and custom workflows.
What we're building
ChangelogAI solves a real problem: public changelogs are valuable for users but expensive to maintain manually. The app reads a repository's GitHub commit history, parses it by type (feature, fix, chore), and publishes a clean, public-facing changelog page at /[org]/[repo] — no manual writing required.
Core features:
- GitHub OAuth — users connect their repositories
- Commit parser — groups commits by Conventional Commits format and date
- Public changelog page — shareable URL per repository
- Stripe subscription — free for public repos, paid for private
Stack: Next.js 14 (App Router) · Supabase (auth + Postgres) · GitHub API · Stripe · Vercel
Prerequisites: Zenflow desktop app · Supabase project (free tier) · GitHub OAuth App · Stripe account (test mode) · Node.js 20+
Step 1: Scaffold the project
Open Zenflow, create a new task in Code mode, and point it at an empty directory. Your first prompt sets the entire foundation:
Scaffold a Next.js 14 App Router project named changelogai:
- TypeScript strict mode
- Tailwind CSS + shadcn/ui
- Supabase JS v2 with typed Database types
- Prisma ORM with a PostgreSQL connection string
- Stripe SDK
- Folder structure: /app, /components, /lib, /types, /hooks
- .env.local with all required placeholder keys
- ESLint + Prettier config
Zenflow feature — Codebase context: Before writing a single file, Zenflow indexes your directory and generates the scaffold as an interconnected set. The Supabase client, Prisma types, and Next.js config reference each other correctly from the start. You're not stitching together copy-paste snippets from three different tutorials.
Step 2: Define the database schema
Create a new task in the same directory. Prompt:
Create a Prisma schema for ChangelogAI with these models:
- User: id, email, githubId, githubAccessToken (encrypted), createdAt
- Repository: id, userId (FK), owner, name, isPrivate, lastSyncedAt
- ChangelogEntry: id, repositoryId (FK), sha, message,
  type (FEAT | FIX | CHORE | OTHER), publishedAt
- Subscription: id, userId (FK), stripeCustomerId, plan (FREE | PRO), status

Generate a migration and Supabase RLS policies so users
can only read and write their own rows.
Zenflow feature — Multi-step task execution: Zenflow breaks this into three sequential steps with hard boundaries — schema generation, migration execution, RLS policy writing. Each step verifies the previous output before proceeding. If the migration fails against your Supabase connection string, it stops and surfaces the exact error rather than writing policies against a broken schema.
Step 3: GitHub OAuth + repository connection
Prompt:
Implement GitHub OAuth in Next.js 14 App Router:

- /app/api/auth/github/route.ts
  Redirect to GitHub OAuth with scopes: read:user, repo

- /app/api/auth/github/callback/route.ts
  Exchange code for access token, upsert User in Supabase,
  set a signed session cookie

- /app/(dashboard)/page.tsx
  After login, list the user's GitHub repos via the GitHub API.
  Each repo has a "Connect" button that saves it to the
  Repository table and redirects to /[owner]/[repo]/settings
Because Zenflow has full codebase context from Steps 1 and 2, the callback handler references your exact Prisma User model — correct field names, correct types — without you re-explaining the schema. The dashboard component imports the typed Supabase client that was wired up in Step 1.
Step 4: The commit parser
This is the core feature. Prompt:
Build a commit parser at /lib/commitParser.ts:

- Fetch commits from the GitHub API for a connected repository
  (paginated, last 90 days)
- Parse each commit message using Conventional Commits format
  (feat:, fix:, chore:, docs:, etc.)
- Fall back to keyword detection for non-conventional commits
  ("add" → FEAT, "fix"/"bug" → FIX, "update"/"refactor" → CHORE)
- Return ChangelogEntry[] typed against our Prisma schema

Build a POST endpoint at /app/api/sync/[repoId]/route.ts that:
- Calls the parser
- Upserts entries to the database (skip duplicates by sha)
- Updates Repository.lastSyncedAt
Zenflow feature — Model routing: Zenflow routes different parts of this task to different models automatically. The commit parsing logic (string manipulation, regex, type mapping) runs on a fast, cost-efficient model. The sync endpoint — which needs to handle pagination state, Prisma upsert conflicts, and error recovery — routes to a reasoning-focused model. You get appropriate quality at each layer without manually deciding which model to use.
Step 5: The public changelog page
Prompt:
Build a public changelog page at /app/[owner]/[repo]/page.tsx:

- Server component — fetch ChangelogEntry records from Supabase
  (no auth required for public repositories)
- Group entries by week, sorted newest first
- Render each group as a section with a date header and entries
  color-coded by type:
  FEAT = green badge, FIX = amber badge, CHORE = grey badge
- Add an RSS feed at /app/[owner]/[repo]/rss.xml/route.ts
- If the repository is private and the viewer is not the owner,
  show an upgrade prompt linking to /pricing
Zenflow writes the server component referencing the exact ChangelogEntry types from Prisma and the RLS-aware Supabase client from Step 1 — the same types, the same client, no drift.
Step 6: Custom workflow for every new feature
Once the app is running, save a reusable Zenflow workflow at ~/.zenflow/workflows/changelogai-feature.md. Every new feature — Slack notifications, team accounts, CSV export — runs through this pipeline:
## ChangelogAI Feature Workflow

### [ ] Step: Design
<!-- agent: gemini-3-5-flash -->
Review the existing codebase. Draft a technical spec
for the requested feature in /artifacts/spec.md.
Include: data model changes, API surface, component list.

### [ ] Step: Implementation
<!-- agent: gpt-5-3-codex -->
Implement the feature described in /artifacts/spec.md.
Follow existing patterns in /lib and /app.
Do not modify files outside the feature's scope.

### [ ] Step: Tests
<!-- agent: gpt-5-3-codex -->
Write unit and integration tests for the new feature.
Confirm existing tests still pass.

### [ ] Step: Review
<!-- agent: sonnet-4-6-think -->
Review the implementation against /artifacts/spec.md.
Flag any edge cases, missing error handling, or type safety gaps.
Zenflow feature — Custom workflows: The design step prevents the implementation model from going off-spec. The review step catches what codegen misses. You get consistent quality on every feature without re-prompting from scratch — and the workflow file lives in your repo, so the whole team uses the same process.
Deploying to Vercel
In Zenflow Work mode, prompt:
Prepare ChangelogAI for production deployment:
- vercel.json with environment variable mappings
- GitHub Actions workflow: run tests on PR, deploy to Vercel on merge to main
- Supabase migration script safe to run in CI
- Check all environment variables are documented in .env.example
Push to GitHub, connect the repo to Vercel, add your environment variables, and deploy. ChangelogAI is live.
Frequently Asked Questions
What is Zenflow Code mode?
Zenflow Code mode is a task execution environment for repository-level software development. It indexes your entire codebase before generating code, so every file it writes is consistent with your existing types, imports, and patterns — not a standalone snippet that needs manual wiring.
What's the difference between Code mode and Work mode?
Code mode operates on a Git repository and is designed for software development tasks — writing, refactoring, and testing code. Work mode connects to third-party SaaS tools (HubSpot, Jira, Slack, Google Drive) and is designed for cross-tool data orchestration and automation workflows that don't require a codebase.
Can I use Zenflow on an existing codebase?
Yes. Zenflow indexes whatever directory you point it at. For an existing project, it reads your current file structure, dependencies, and patterns before making any changes — so new code follows your existing conventions rather than imposing its own.
What are Zenflow Custom Workflows?
Custom Workflows are versioned Markdown files stored under .zenflow/workflows/ or ~/.zenflow/workflows/. Each file defines a multi-step execution pipeline with a specific AI model assigned to each step. They make recurring development processes repeatable and shareable across a team.
Do I need to choose which AI model to use?
No. Zenflow routes tasks to appropriate models automatically based on the nature of the work — fast models for high-volume parsing and scaffolding, reasoning models for architecture decisions and code review. You can override model selection per step in Custom Workflows if you want explicit control.

![From Idea to Production: Modern AI Engineering Cycle [Guide]](https://zencoder.ai/hs-fs/hubfs/Idea%20%E2%86%92%20Spec%20%E2%86%92%20Workflow%20%E2%86%92%20Production_%20The%20Modern%20AI%20Engineering%20Cycle.png?width=800&height=400&name=Idea%20%E2%86%92%20Spec%20%E2%86%92%20Workflow%20%E2%86%92%20Production_%20The%20Modern%20AI%20Engineering%20Cycle.png)
